Introduction
React Router went through a ton of changes in version 6, and I mean a lot of changes so much so that if you weren't paying attention you'd probably think you are using a new library entirely! From naming conventions to design patterns and structure with the implementation of react-hooks. Version 6 posed a complete paradigm shift from the other versions of react-router. While massive changes like this are always a pain for code maintainers and developers in general.

It is hard to argue (I mean, you can still try!) that changes that came with version 6 were a net negative. You can see all the changes that have been made in the library here.
In this article, I show you how to build a react app with protected routes using react-router v6.
What is React Router
Okay, I might have jumped the gun a little 😅. If you are confused as to what react-router is, react-router is a standard library that allows users to navigate through different pages based on their actions or request in react. React is a framework for creating single-page applications which have plenty of advantages including quicker load times than the traditional multi-page apps however routing is a common challenge that comes with SPA's. Single-page applications navigate through views inline within the same page, unlike traditional multi-page apps which involve navigating to a different page entirely.

This makes routing through different component views with the appropriate URLs much harder. React router abstracts this process for us making it easy for react developers. Without react-router, we wouldn't be able to render the views we create in our react single-page applications.
Creating Protected Routes with React Router
React Router allows you to protect certain routes that require users to be authenticated or have certain permissions to have access to. So, let's see how to create a react application with protected routes.
Create react app
To get started, we are going to use create-react-app to bootstrap a simple react app.
npx create-react-app <app_name>

cd <app_name>

npm start

Installing react-router-dom
We need to install react-router-dom to navigate between different pages.
npm install react-router-dom
Creating Pages in React
For this application, we would create three basic pages:
Home Page
Secret Page( the protected page, only accessible to users who have a token in their localStorage)
Public Page ( This page is accessible to everyone )
Your folder structure should look like this:
<app_name>
    node_modules
    public
    src
        pages
            HomePage.jsx
            LoginPage.jsx
            SecretPage.jsx
        App.js
        index.js
In HomePage, SecretPage, and LoginPage type the shortcut rafce to load a basic view function in the file.
app_name > src > pages > HomePage.jsx
import React from 'react'

const HomePage = () => {
  return (
    <div>HomePage</div>
  )
}

export default HomePage
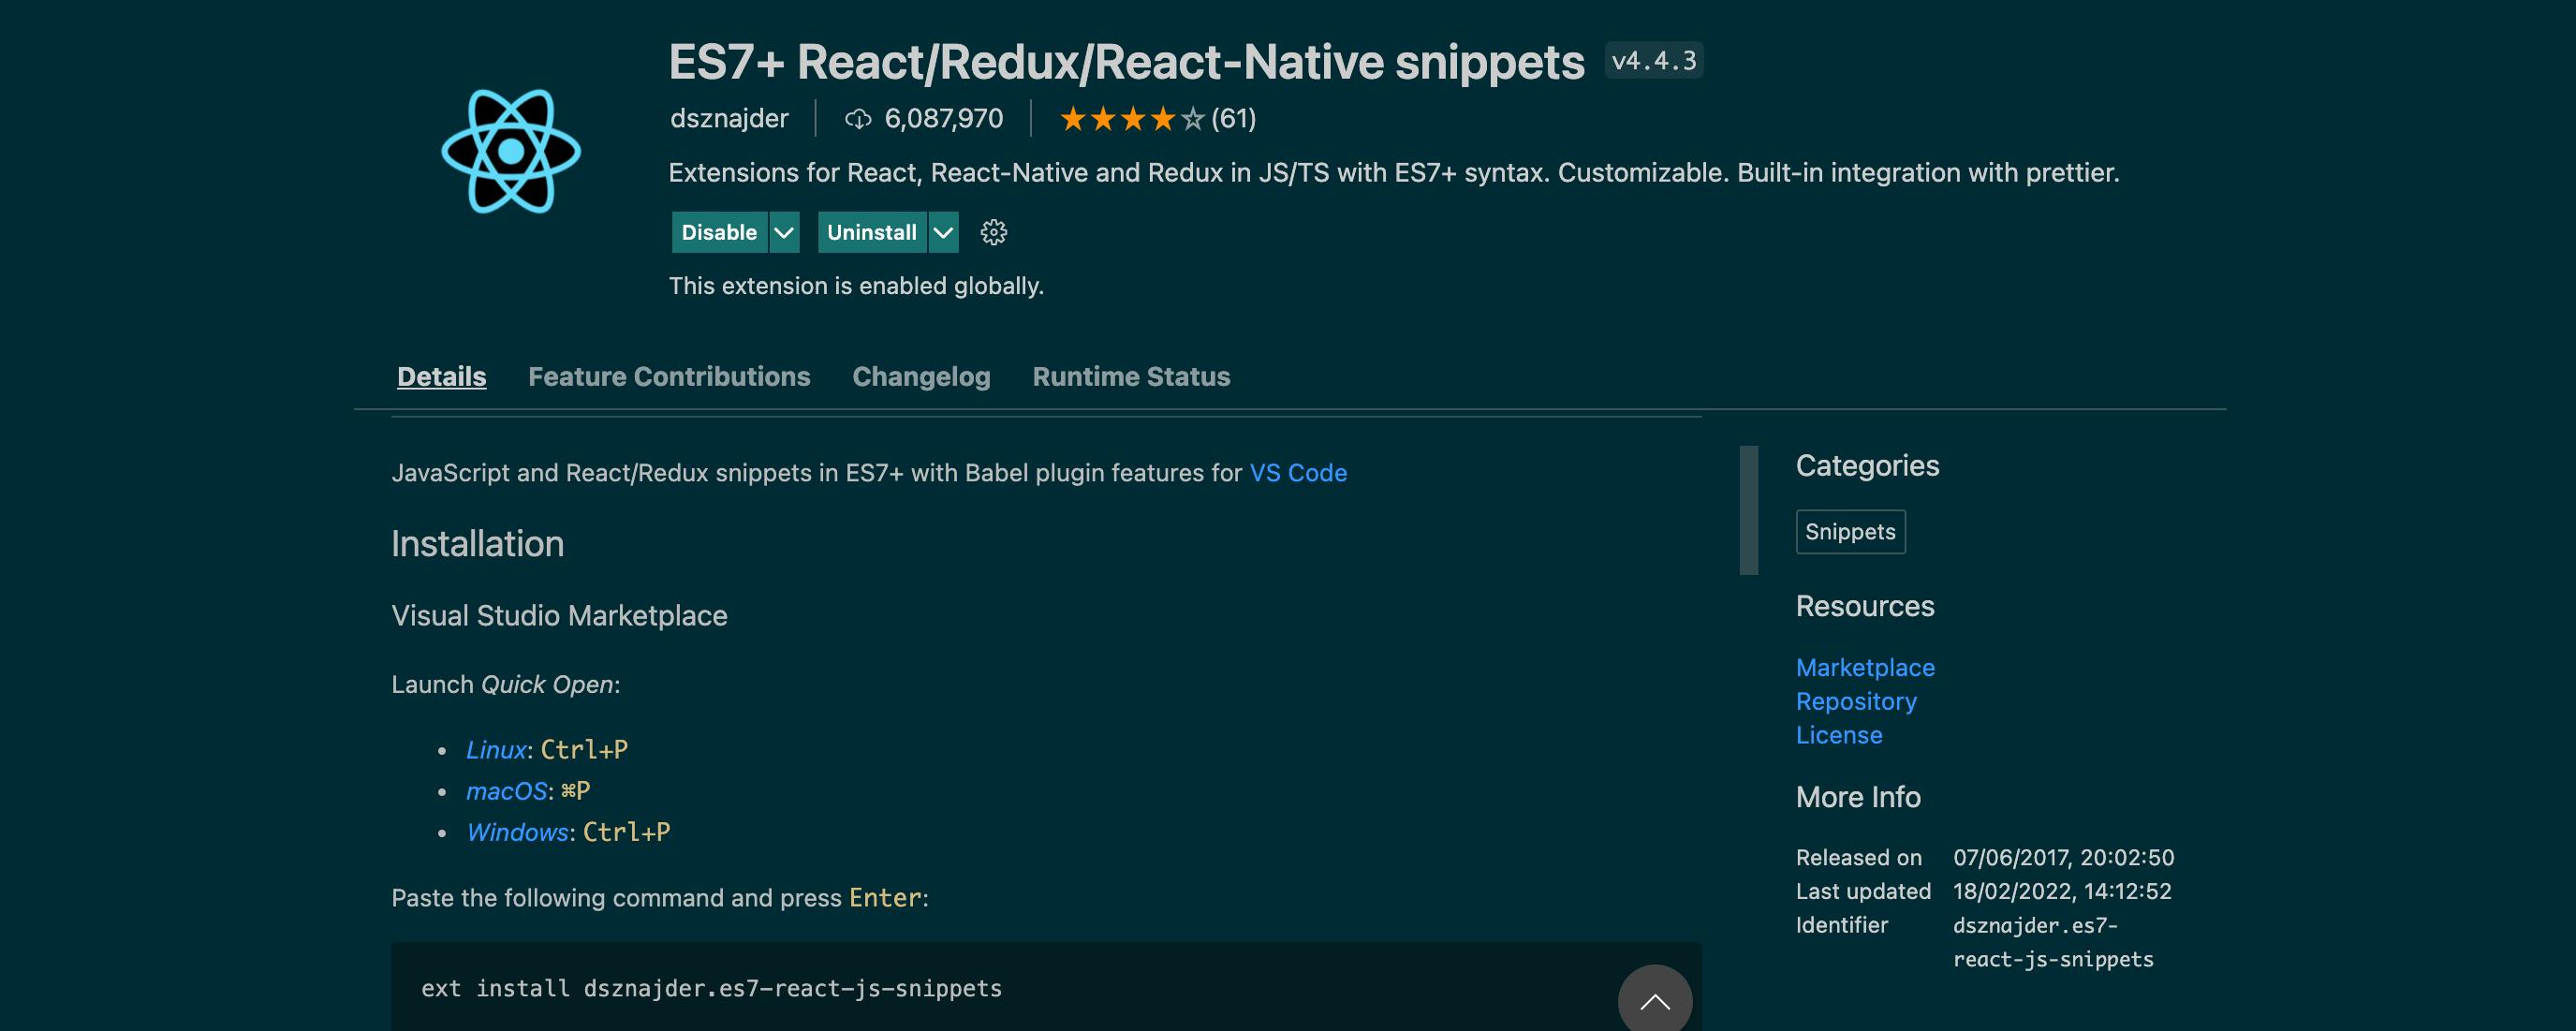
note: if the shortcut did not work, you need to download the ES7 + React/Redux/React-Native snippets extension

Creating our routes in react
In our App.js we would create routes for our components:
routing > src > App.js
import "./App.css";
import { BrowserRouter as Router, Routes, Route } from "react-router-dom";
import Home from "./pages/Home";
import Login from "./pages/Login";
import SecretPage from "./pages/SecretPage";

function App() {
    return (
        <div className="App">
            <Router>
                <Routes>
                    <Route element={<Home />} path="/" exact />
                    <Route element={<SecretPage />} path="/secret" />
                    <Route element={<Login />} path="/login" />
                </Routes>
            </Router>
        </div>
    );
}

export default App;
This allows us to navigate to different components with the exact URL. If we run our server again and navigate to http://localhost:3000/secret you'd notice that we have access to it. What we want to check is if the user has a token stored in their local storage and redirect the user to the LoginPage if they do not have a token stored in their localStorage.
Creating protected routes in react
To create protected routes we need to write some logic to check whether the user has a token stored in their localStorage and redirects them to the Login Page if the user does not have a token.
routing > src > protectedRoutes > ProtectedRoutes.jsx
import { Outlet, Navigate } from 'react-router-dom'

const PrivateRoutes = () => {
    let auth = localStorage.token
    if (!auth){
       return(<Navigate to="/login"/>)
    }else {
        return(<Outlet/>)
    }

}

export default PrivateRoutes
Protecting the secret page component in our App.js file.
. . .

import SecretPage from "./pages/SecretPage";
import ProtectedRoutes from "./protectedRoutes/ProtectedRoutes";

. . .

<Route element={<ProtectedRoutes />}>
    <Route element={<SecretPage />} path="/secret" /
</Route>
Now, if we run our server and try to redirect to our secret page we would be immediately redirected to our login page because we do not have a token stored in our localStorage.
You can get the link to the source code here
Conclusion
If you finished the article, then congratulations 🎉 . You now know how to protect certain routes in react using react-router. If you found this article helpful in any way please give it a like, it would mean a lot.

